How To Clean A Stomped Ceiling
Hi Everyone!
We bought a 1980's house. We kind-of knew what we were getting into in regard to the ceilings. In the 80's (and before) is was easy for contractors to apply a texture on the ceiling instead of doing a nice, smooth drywall job. (Alternative names include: textured finish, acoustic finish, popcorn, cottage cheese, orange peel, knock down). The advantages of a ceiling texture was that it hid imperfections and helped with sound insulation (apparently). Prior to the 1980's, popcorn texture contained asbestos and the acceptance of textured ceilings fell after that point, even though they now contain vermiculite or polystyrene.
We, however, do not have a popcorn style ceiling. We have plaster / stipple / stomped. This looks like someone dipped a mop in drywall mud and made spiderweb globs on the ceiling. Yay. 
When we moved in, we thought that'll be one of the things that has to go: the ceiling texture. It immediately dated the interior and we wanted to "forget" we were inside an older home (we wanted the inside to feel fresh and modern). I definitely knew modern wasn't popcorn or textured ceilings. (My early childhood home, which was built in 1979-ish, had popcorn. The house of my teen years (circa 1950's) had a less distinct, softer version of our home's spiderweb looking pattern.)
Onto research phase!
As I did internet research on the type of ceiling texture that we had and how to remove it, I could only find information on popcorn texture. Even when looking up terms such as "stippled ceiling" or "plaster texture ceiling" yielded no results.
So, we tried the popcorn removal technique as it was the only information we could find. The videos emphasized that this technique will only work if the popcorn texture has not been painted over… (which, is actually difficult to tell if it has been or not.) The steps involve spraying the texture with water to soften it up, then scraping with a putty knife. The result should be smooth ceilings with minimal (if any) patching.
So, knowing ahead of time that this technique would most likely end in terribleness – we decided to experiment anyway. Here's a video of how this went (and photographs with descriptions below as well):
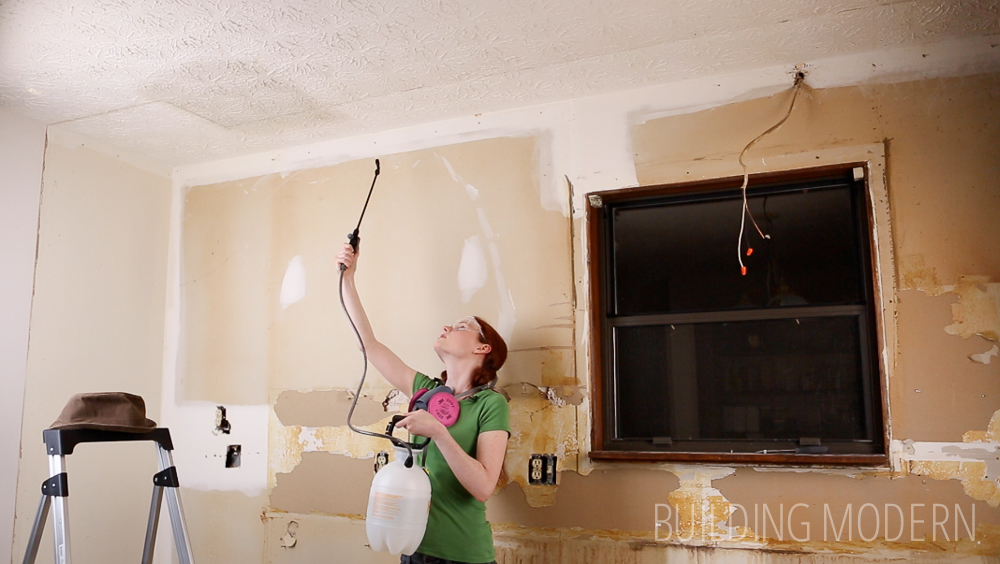
Soaking the ceiling with water so that it wasn't too drippy:
Scraping the ceiling. Eye protection and a respirator is always a good idea.
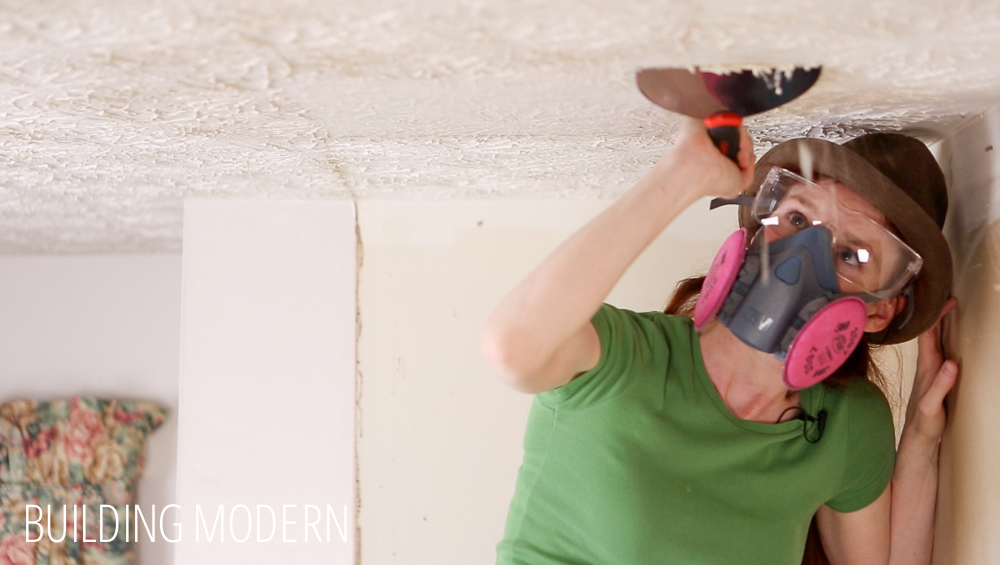
Since the plaster was wet, there wasn't any dust – it was just gloppy.
It turns out our assumptions were correct & the recommended techniqueonly works with the popcorn type of texture. 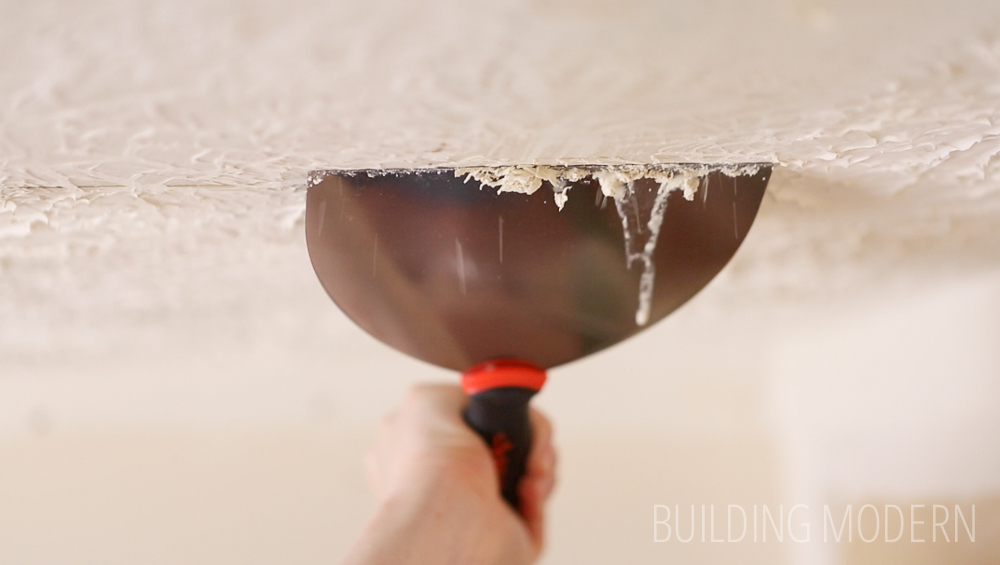
The plaster wasn't coming off in glorious sheets (like in the videos we watched). The texture was just knocked down a bit. 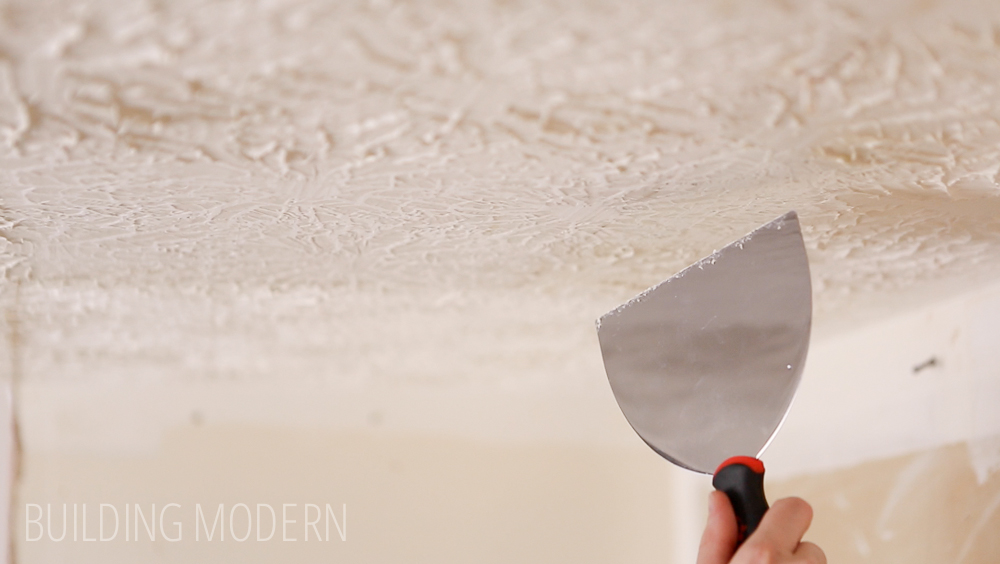
After one soak and scrape, I repeated the process again – this time I went too far.
"Popcorn" removal technique fail:

The texture did come off, but so did the sheetrock paper. To help remedy the situation, we painted over the exposed brown areas with Kilz / Zinsser primer.

The difference between popcorn & stipple is that popcorn has a secondary material encapsulated in the mud & can be applied with a roller or more commonly sprayed on to the surface. The stipple, however, is composed of plain thinned down drywall mud that is splotched or "stomped" on to the receiving surface with a brush. When I was initially doing research, the term "stomped" wasn't one I naturally thought of… there fore I couldn't find much information on the topic. (I knew I was missing a term but couldn't figure out the mystery word.)
The kitchen ceiling before renovations:
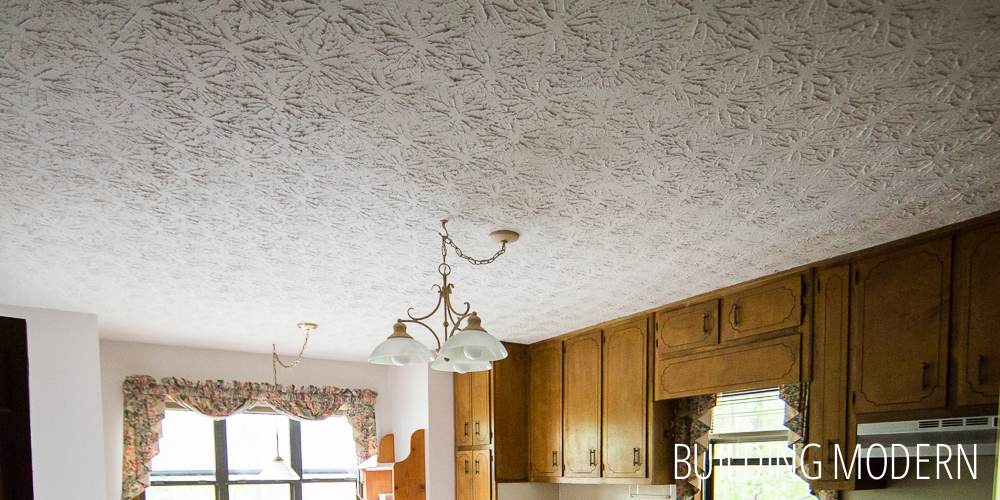
So, since removing the stippled pattern ended in utter failure…
here are our options for covering up the texture:
• skim coat over the existing texture
• remove ceiling sheetrock completely & replace with new smooth sheetrock
• sheetrock over existing textured ceiling
pros / cons of each option:
• skim coating: the price is not that bad for materials but it is very labor intensive and super messy.
• remove & replace: the mess of removing existing sheetrock, the expense of new sheetrock & hiring labor.
• cover up: this is not a realistic option. It is possible there might be sagging in the future due to sheet rock attached to sheet rock. In general the added weight isn't great. Again, the expense of new sheetrock & hiring labor.
All of the above options as a DIY project are complicated due to high ceilings in some rooms in the rest of the house (which would require scaffolding & / or a drywall lift.)
The kitchen, dining room, half bath, basement stairwell, and upper level (two bedrooms, full bath, hallway) all have 8 ft ceilings – we could slowly tackle these rooms one by one… but the project difficulty & mess would make the entire process miserable.
The living room, foyer, and master bedroom have super high ceilings and large square footage. Both intimidating factors when considering the DIY option.

Our decision:
DIY skim coat the kitchen (due to complete renovation in this room) & temporarily ignore the rest of the house.
Why? Because the quote we received to skim coat the kitchen was $850. For one room.
We knew doing it ourselves would stink, but for $150 in materials & job specific tools (and a flexible timeline) – we could get it done.
Up next – videos!! Our how-to (or how not to), and our project review!!
December 2015 Update:
To see our how-to post with a video (and our post-DIY Skim Coat opinions): http://buildingmodern.net/kitchen-stippled-to-smooth-ceiling-diy/
To see our final before/after of our kitchen, including our skim coat job (ok, 90% there – you're missing some good posts in-between, so be sure to check them out as well!!): http://buildingmodern.net/kitchen-reveal/
December 2015 Upcoming Projects:
Up next for us is attempting to cover up the main living room ('great room') above (the last image above this). It goes from 8′ – 20'+ … so, we've purchased some new drills, 18′ of scaffolding, and are about to buy 1/4″ v-groove paneling. We're excited to try this one out and may even live-broadcast some. Find us on Facebook, instagram (@buildingmodern), & twitter (@buildingmodern) to catch us when we go live. 🙂
Also, if we get enough questions/requests, we'll do some LIVE Q&A's for everyone (on meerkat, periscope, Facebook, or some other option). Let us know, we'll set it up. Can't wait! Post below, or tweet or message us, to let us know if you'd be interested. We might make this a regular thing (once a month? more frequently?) if we get enough interested. Thanks again!! Please stick around – we have SO much more to share!!
How To Clean A Stomped Ceiling
Source: http://buildingmodern.net/stippled-ceiling-cover-up-dos-donts-options/
Posted by: ishmaelnowerever98.blogspot.com

0 Response to "How To Clean A Stomped Ceiling"
Post a Comment