How To Clean Vintage Enamel Table
Did you know you can clean and refurbish a vintage porcelain enamel table top using a battery powered sander? I didn't know it either until I gave it a try.
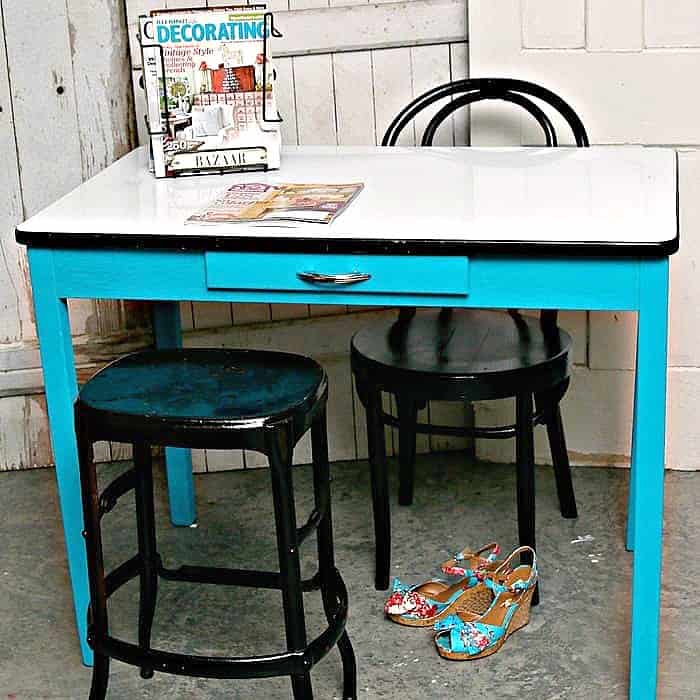
I thought I found a new technique but after Googling it I found out I'm not the first to use this wet sanding method but I might be the first to use it on a porcelain table!
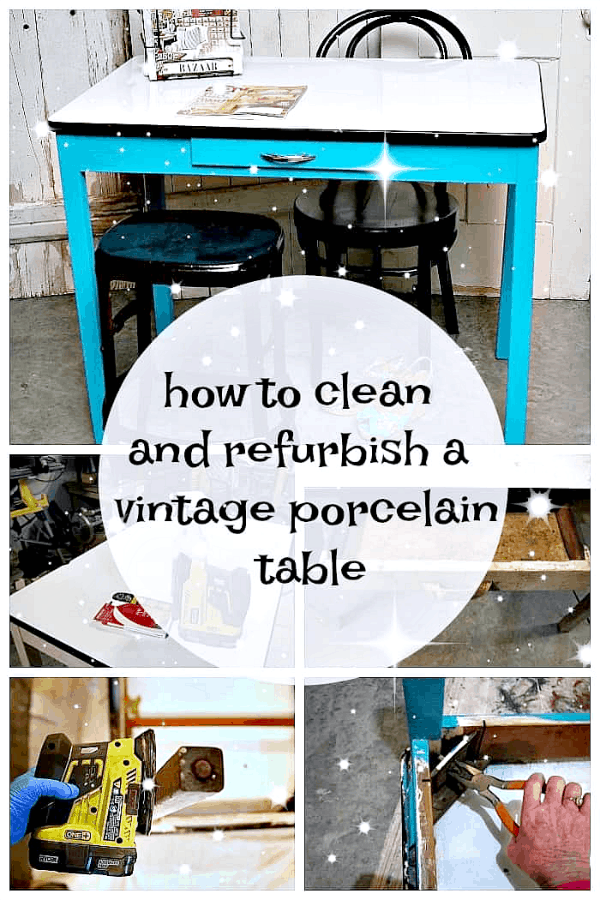
After I finished cleaning and freshening the table top I painted the base with a chalk finish paint and I'm going to take you through the whole process. I filmed a short video showing how to wet sand the porcelain table top.
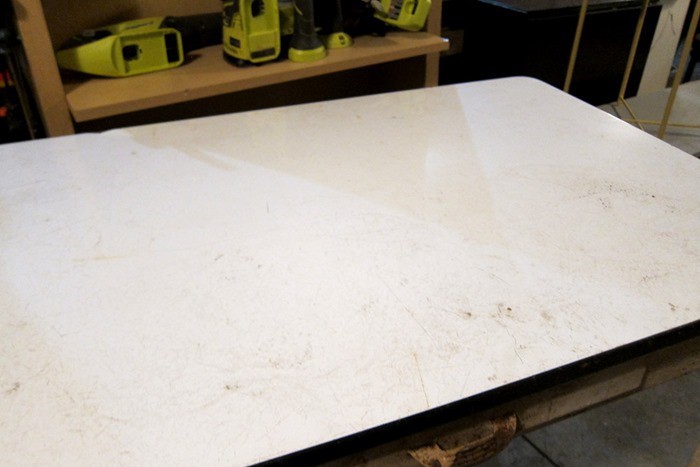
The photo I took of the whole table was so blurry I couldn't use it. This is the top of the table. See how scratched up and dirty it is? I bought the table at my favorite junk shop for $10. Can't beat that. My plan was to just sand off the loose paint, apply wax, and leave it like that.
Then I decided I would rather keep the table if the table top shined up well and to paint the base and legs of the table a pretty turquoise. I plan to use it as my video table and small project table.
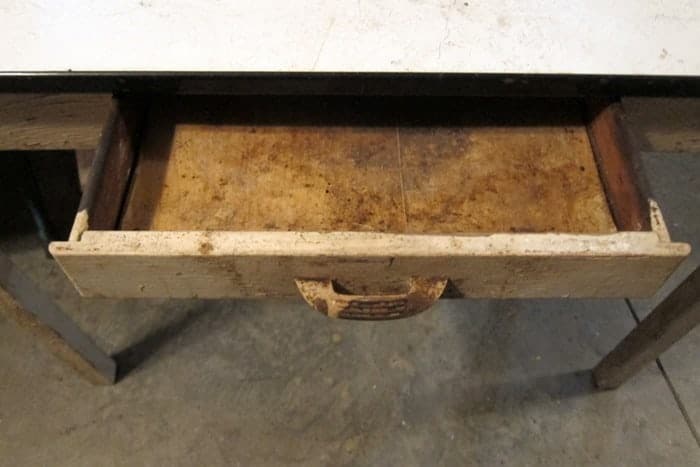
As you can see the whole table was a mess. The inside of the drawer was really dirty and discolored and the white paint was chipped and peeled off in places. I had my work cut out for me.
How To Clean And Paint A Vintage Porcelain Enamel Table
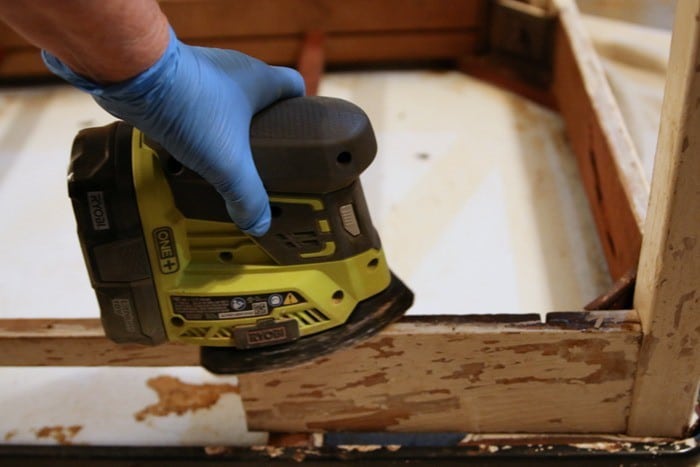
The first thing to do was sand off all that loose paint on the wood base.
Cleaning The Wood Base
You can see in this photo how badly the paint was chipping and peeling away. I sanded the whole table with a battery powered sander getting rid of the loose paint pieces. You really need to be careful when dealing with older painted pieces because the paint may contain led. Be sure and wear the proper type mask when sanding.
Cleaning The Porcelain Enamel Table Top
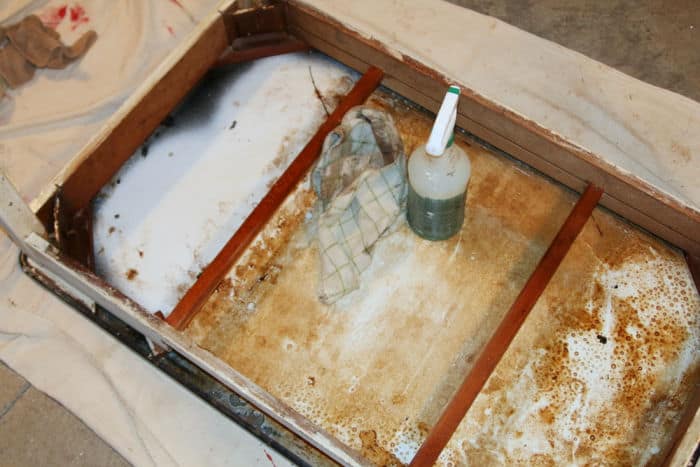
I worked on the underneath of the table first. On any furniture makeover you want to clean the whole piece from top to bottom, inside and out.
How do you think the undersideof the table got in such a mess? I grabbed my bottle of Simple Green and scrubbed and scrubbed.
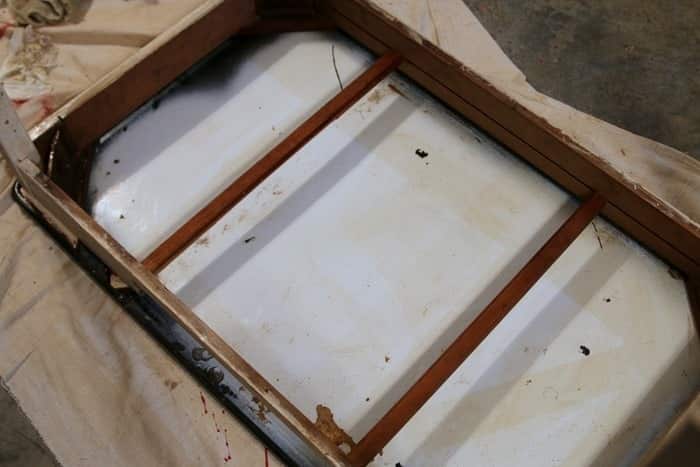
The porcelain on the underside cleaned up pretty well. I didn't remove the legs for cleaning because I didn't know what other issues I might have. I didn't want one of the legs to split for sure.
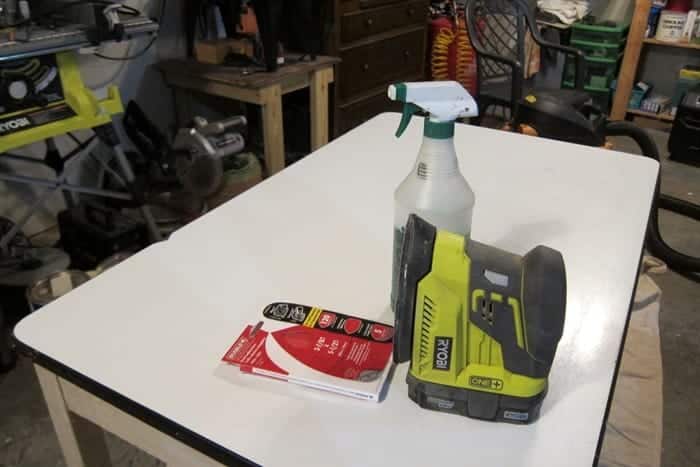
After I finished with the base of the table I got to thinking about the sander and the table top. What the heck, let's just spray a bit of Simple Green on a small area of the table and see what the Ryobi sander does.
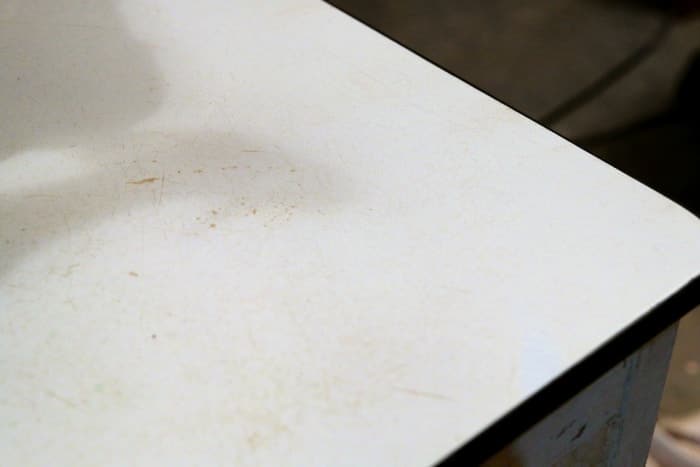
You can see from the close up photo all of the brown discoloration and you might be able to see the many light scratches all over the surface.
Boy was I surprised when the sandpaper didn't scratch up the top……it cleaned the top, either buffing the scratches away or at least making them less noticeable.
So then I did the whole top. I went over the porcelain top three different times with the Simple Green and the sander. I used 120 grit sandpaper because that's what I had in the cabinet. Later, when reading about others using this method they say to use a very very fine grit sandpaper.
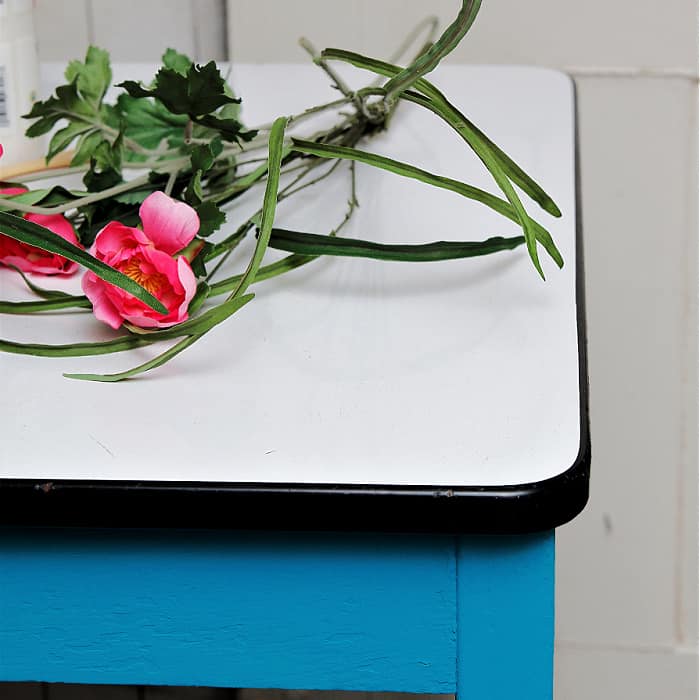
The top looks so much better after the wet sanding. There were still a few imperfections but not many. Watch the video to see watch the sanding process using the power sander.
The video of me refurbishing the table top with the sander is below….
How To Refurbish A Porcelain Enamel Table Top
If you want to try this on a project I would suggest doing what I did and trying a small area with sandpaper (whatever grit) and go from there.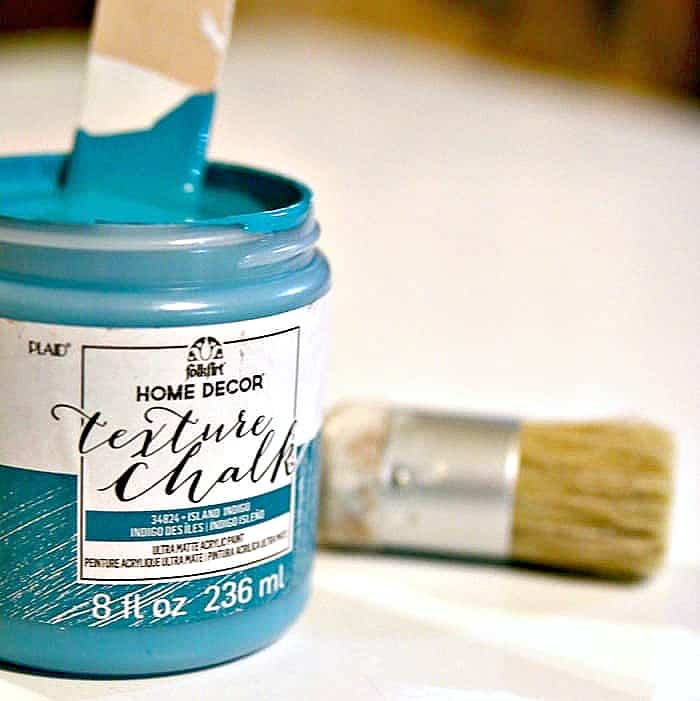
Painting The Table
Time to paint now that the clean up is done. I wanted something that would look good with the black band around the enamel top.
I thought about pink but spotted this beautiful color first on the paint shelf.
The paint is FolkArt Home Décor Texture Chalk, color Island Indigo. I love this Home Decor Chalk, both the regular chalk and the texture chalk.
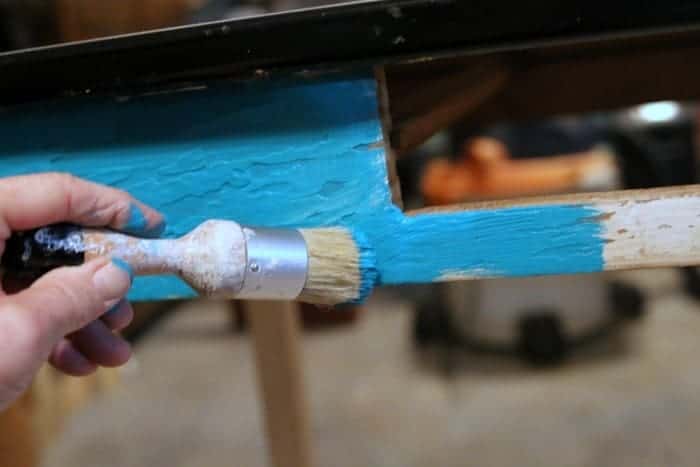
As you can see I'm just painting right over the messed up original paint finish. I applied two coats of paint.
One coat covered really well but there are always bits and pieces I miss painting the first go around.
Tighten Nuts and Bolts And Replace Hardware
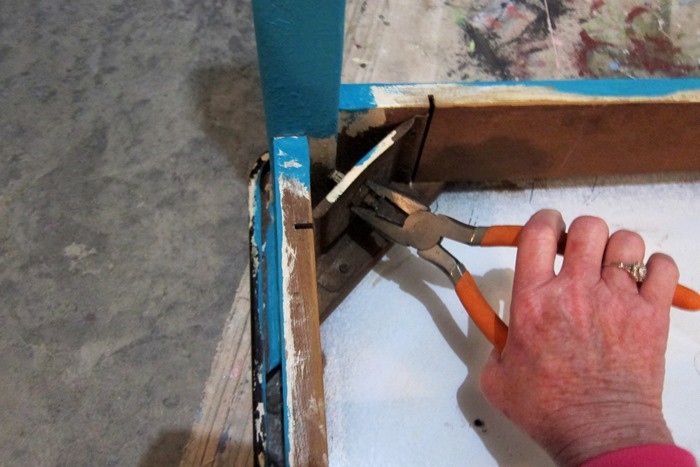
Once I finished the cleaning and painting I tightened the bolts on the legs. I also tightened the screws holding the top to the table base.
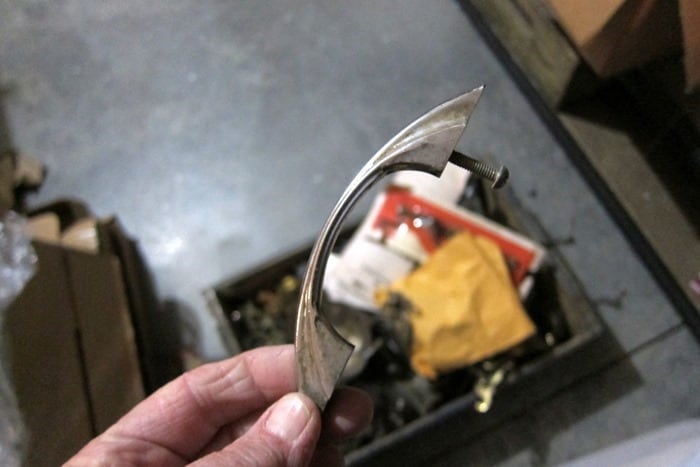
I planned all along to use the original drawer handle but I really didn't like it. I looked through my box of new hardware and pulled out several silver cup handles.
I put one on and it didn't look right so I headed to my junk stash of hardware and look what I found. It couldn't have been more perfect.
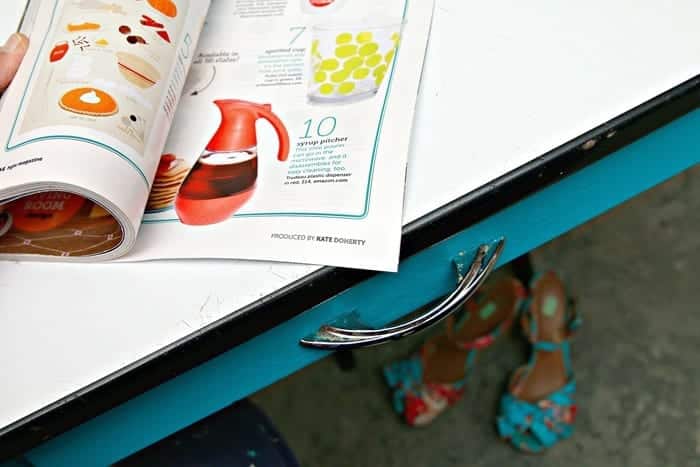
I cleaned the handle but it still had some pitted places. It really is perfect for the table. I often like to put new modern knobs on my painted pieces but this one called for a vintage piece similar to what would have been original to the table.
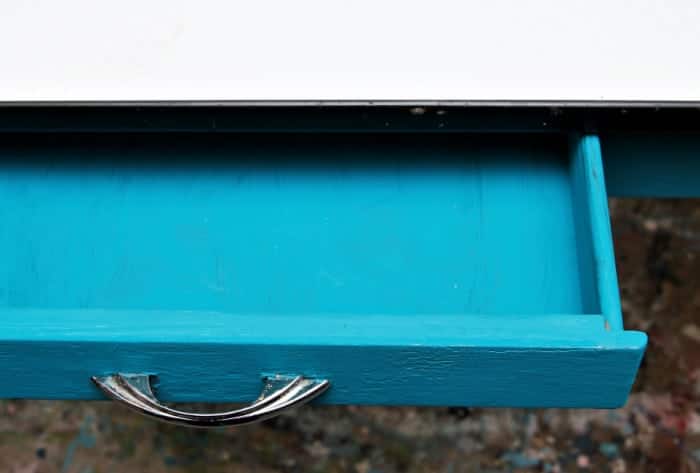
paint the inside of a stained drawer
The drawer was so dirty inside. I cleaned it with Simple Green but it was such a mess I decided to paint it. As you can see I didn't do a bang up job but it looks so much better painted.
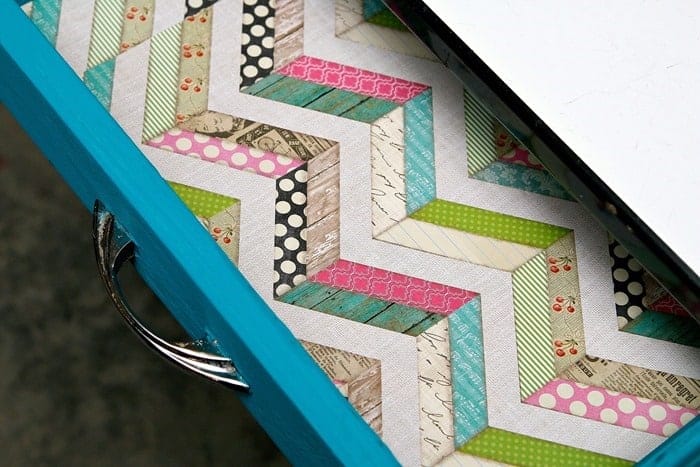
Even though the inside of the drawer looked nice I lined it with pretty scrapbook paper. Easy touches like this can really elevate a piece.
Putting It All Together
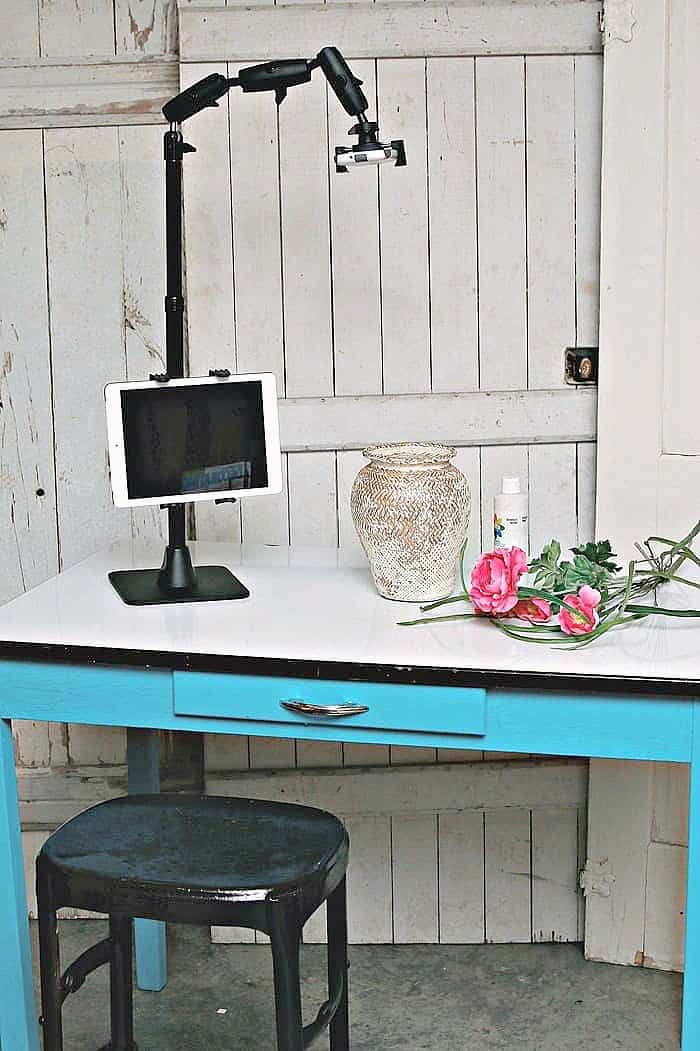
I love the turquoise porcelain top table and I have it all set up with my new phone and tablet stand for taking videos. I can do Facebook lives with my phone and be able to see comments from you guys on my iPad at the same time.
The mount will also hold my small point and shoot camera that I use to film videos.
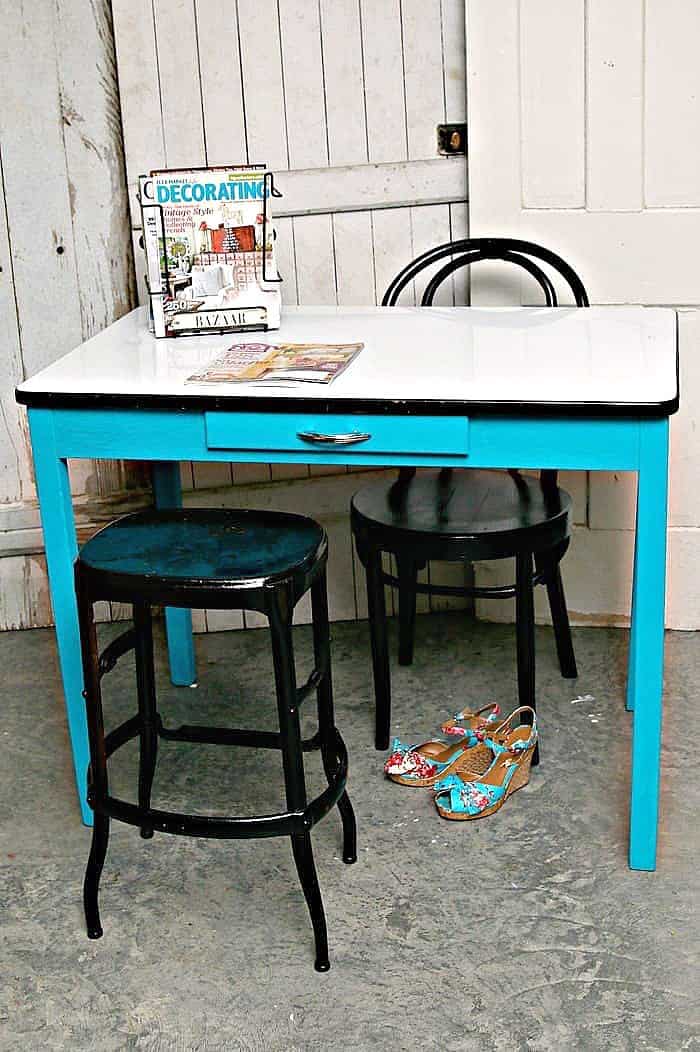
I decided to paint the chair and metal stool to use with the table. I've had the chair forever and Sofi uses it at her work table. The metal stool is a recent thrift store purchase for $8.
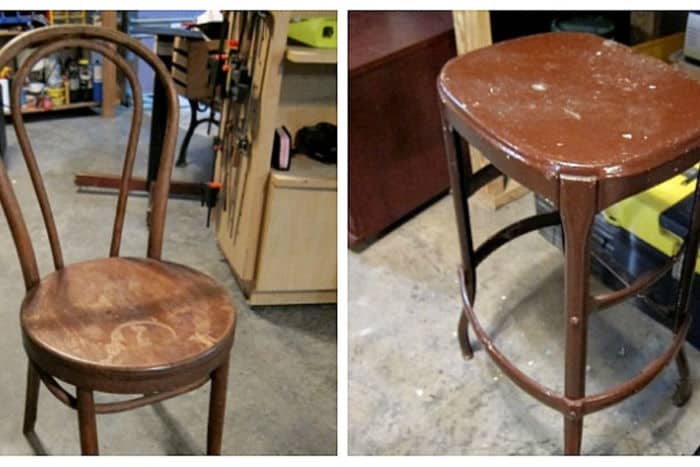
chair and metal stool for a spray paint project
I used Walmart brand black gloss spray paint on the stool and chair because that's what I had on hand. I choose gloss because of the shiny black porcelain band around the table top.
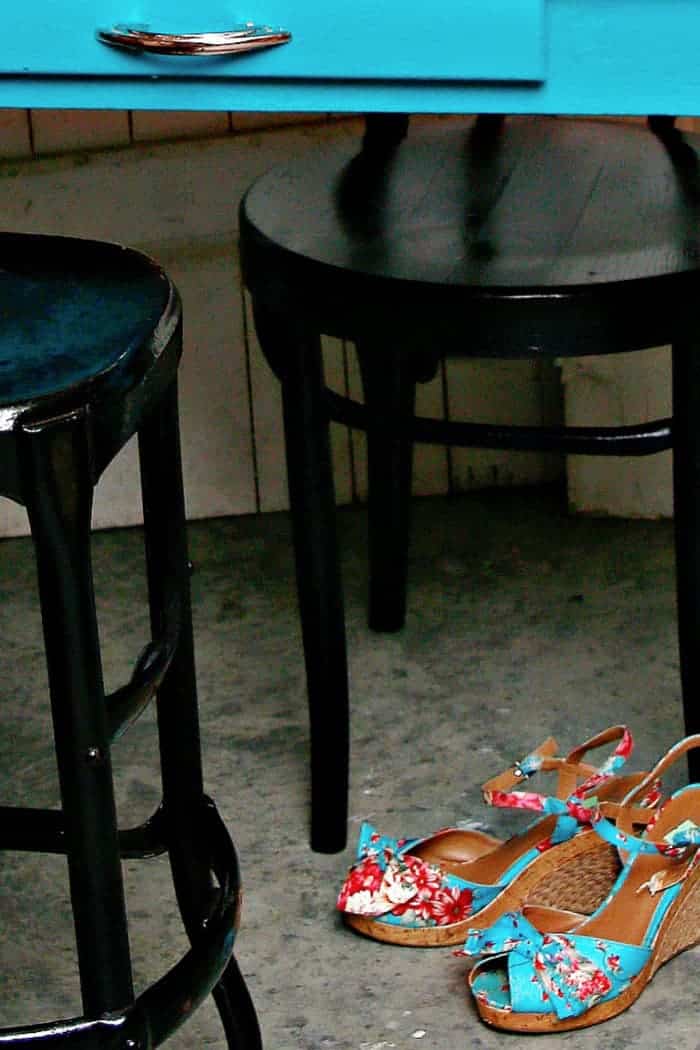
What do you think of the cute shoes. I found them at Goodwill and have a project in mind for them.
How To Clean A Vintage Porcelain Enamel Table
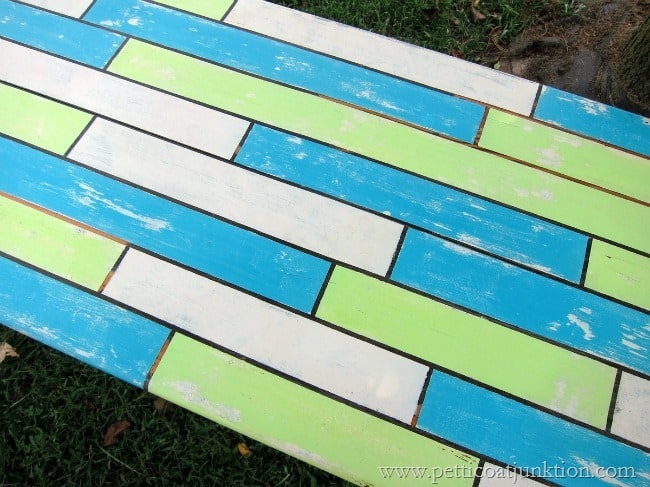
Take a look at the painted plank table above. Just want you to know that is a solid piece of wood that I painted using skinny detail tape to make it look like planks. Really. You can see it here....How To Fake An Antique Painted Plank Tabletop
If you love vintage and antique furniture and want to know how to clean and prep for painting I have this guide post for you.....How To Prep Furniture For Painting
As always, thanks for being here and have a great day, Kathy
More Tutorials For You:
How To Clean Vintage Enamel Table
Source: https://petticoatjunktion.com/furniture/porcelain-enamel-table/
Posted by: ishmaelnowerever98.blogspot.com

0 Response to "How To Clean Vintage Enamel Table"
Post a Comment